RetroFeed Work Log #3 - Web Serving & More Setup
In the second part of this series we looked at the most basic things we could do - package setup, some basic scripts, common integrations etc. And we left it for this third article to cover actually setting up a real application which could do some minimal things, and for the next one to cover infrastructure and making the project public. It turns out there’s a bunch to cover here as well, and one article won’t do it justice. So I’ll only cover the initial application behaviours, a bit of testing and more integrations here, and we’ll delay things like sessions and authentication for the next part.
The current file structure is:
.
├── .dockerignore
├── .gitignore
├── .nvmrc
├── .travis.yml
├── Dockerfile
├── LICENSE.txt
├── README.md
├── config
│   ├── env.local
│   └── env.test
├── cypress.json
├── docker-compose.yml
├── knexfile.js
├── migrations
│   └── 0001.create-auth-schema.js
├── package.json
├── scripts
│   ├── lint.sh
│   ├── migrate.sh
│   ├── ngrok-expose.sh
│   ├── send-coverage.sh
│   ├── serve-watch.sh
│   ├── serve.sh
│   ├── setup-env.sh
│   ├── test-e2e-watch.sh
│   ├── test-e2e.sh
│   ├── test-watch.sh
│   └── test.sh
├── src
│   ├── app-controller.ts
│   ├── app-module.ts
│   ├── app-service.ts
│   ├── common.ts
│   ├── config.ts
│   └── index.ts
├── test
│   ├── app-controller-test.ts
│   ├── app-service-test.ts
│   ├── common-test.ts
│   └── config-test.ts
├── test-e2e
│   └── index.ts
├── tsconfig.e2e.json
├── tsconfig.json
├── tslint.json
├── tsnyc.json
└── yarn.lock
This is a bunch bigger than the one from last time. New additions are the test-e2e directory, the migrations one, and a bunch more source and script files.
The big thing is setting up NestJs. In broad lines, this is a web framework in the spirit of Ruby On Rails or Django, but taking a lot from Angular as well. So more “batteries included” than “do your own thing”, like Express is. Though it is still using Express under the hood. It’s all built in TypeScript, so it has nice types and intense support for annotations. It also has a bunch of sane defaults, but it doesn’t go as far as requiring a particular ORM or view engine. In fact, the biggest thing it enforces is its own Dependency Injection framework.
The index.ts file has become:
import { Module } from "@nestjs/common";
import { NestFactory } from "@nestjs/core";

import { AppModule } from "./app-module";
import { ConfigModule, ConfigService } from "./config";

@Module({
    imports: [
        AppModule,
        ConfigModule,
    ],
})
class MainModule {}

async function bootstrap() {
    const app = await NestFactory.create(MainModule);
    const config = app.get(ConfigService);
    await app.listen(config.port);
}

bootstrap();
It’s purpose is simply to start the server and do the “central” configuration via the MainModule. Here’s where we’ll list all the other modules of the application, and setup the middleware, logging, error handling etc. which we’ll need to do. Right now it’s pretty bare bones though.
In order to actually do something you need to run yarn serve or ./scripts/serve.sh (or, for development yarn serve:watch). This is essentially ts-node src/index.ts. This will start the serving process and after that you can start hitting the server with requests curl localhost:10001 will show just a Hello World type message. There’s only the index route for now, but we’ll need a bunch more as soon as the next post even.
A thing to notice is the ConfigModule, which is a provider for a Config object. Check it out in config.ts, cause it’s a bit big to put inside this post. Best practice is to separate application’s configuration into a separate file - and provide different values for different environments. 12 factor apps suggests using environment variables for example. We’ll use the env.$ENV files in the ./config directory for holding configuration information. There’s currently values only for the local and test (ie Travis) environments, but staging and live will follow once we get there.
The file looks like:
ENV=TEST
HOST=retrofeed.retrofeed
PORT=10001
INSPECT_PORT=9229
POSTGRES_HOST=postgres.retrofeed
POSTGRES_PORT=5432
POSTGRES_DATABASE=retrofeed
POSTGRES_USERNAME=retrofeed
POSTGRES_PASSWORD=retrofeed
Config is responsible for translating this into something the application can work with, like config.port or config.env. It also does a bit of “parsing” and checking, though I’m not 100% happy with how it’s done. Perhaps Raynor can help here as well. The way it’s meant to be used is that classes which need some config value will inject Config in the constructor and Nest will take care of providing it. Makes testing a lot easier and also clearly marks the dependencies of your code.
A special setup-env.sh script is called at the start of every other script in ./scripts now. It’s purpose is to write an .env file at the root of the project which links to the environment specific version of the config file. This is for use by third-party tools which expect that file to exist in a certain place, or at least be the same across environments (looking at you docker compose).
As mentioned in the first post, we’ll be using knex.js as an lightweight ORM. The knexfile.js serves as a global configuration for this thing, accessible both to the application code, as well as to the migration tool, and it depends on the contents of the .env file being visible in the environment. There isn’t yet any application code, but migrations are more or less setup. The ./migrations directory holds them as .js files, in the Knex fashion. The single migration looks like this:
exports.up = (knex, Promise) => knex.schema.raw(
    'CREATE SCHEMA auth'
);

exports.down = (knex, Promise) => knex.schema.raw(
    'DROP SCHEMA IF EXISTS auth'
);
Here, up is executed to apply the change, whereas down is executed in case up errors and we need to revert the changes. The changes themselves are applied via yarn migrate or ./scripts/migrate.sh. The database they apply to is configured, again, via .env and the POSTGRES_* variables. docker-compose up postgres is enough to bring an instance up for local testing, whereas the Travis supplied one is used in testing.
Speaking of testing, it is now a lot more involved. There’s a bunch more tests under ./tests to boot. As stated in the previous post, we use a standard setup of mocha, chai and sinon. An example which highlights the usage of all these things, as well as testing a controller from NestJs (as an unit test even) is ./tests/app-controller-test.ts. I’ve reproduced a part of it here:
// Bunch of imports
describe("AppController", () => {
    let module: TestingModule;

    beforeEach(async () => {
        module = await Test.createTestingModule({
            imports: [AppModule, ConfigTestingModule],
        }).compile();
    });

    describe("root", () => {
        it("should work", async () => {
            const appService = module.get<AppService>(AppService);
            const appController = module.get<AppController>(AppController);

            const fake = sinon.fake.returns("Hello World - TEST");
            sinon.replace(appService, "root", fake);

            expect(await appController.root()).to.be.eql("Hello World - TEST");
        });
    });
});
Furthermore, I’ve setup end to end tests, via Cypress.io. The test code lives under ./test-e2e, and it can be run via yarn test:e2e or ./scripts/test-e2e.sh. It has a bit of a different setup because Cypress isn’t that well integrated with TypeScript (at least in my experience). So there’s a tsconfig.e2e.json for it to use, and an explicit build step which takes source .ts files and produces something the Cypress runner can work with in .build.
The nice way to run these tests locally though is via yarn test:e2e:watch, which launches the Cypress application - a sort of small-scale browser where you can have a lot of powerful interactions with the application.
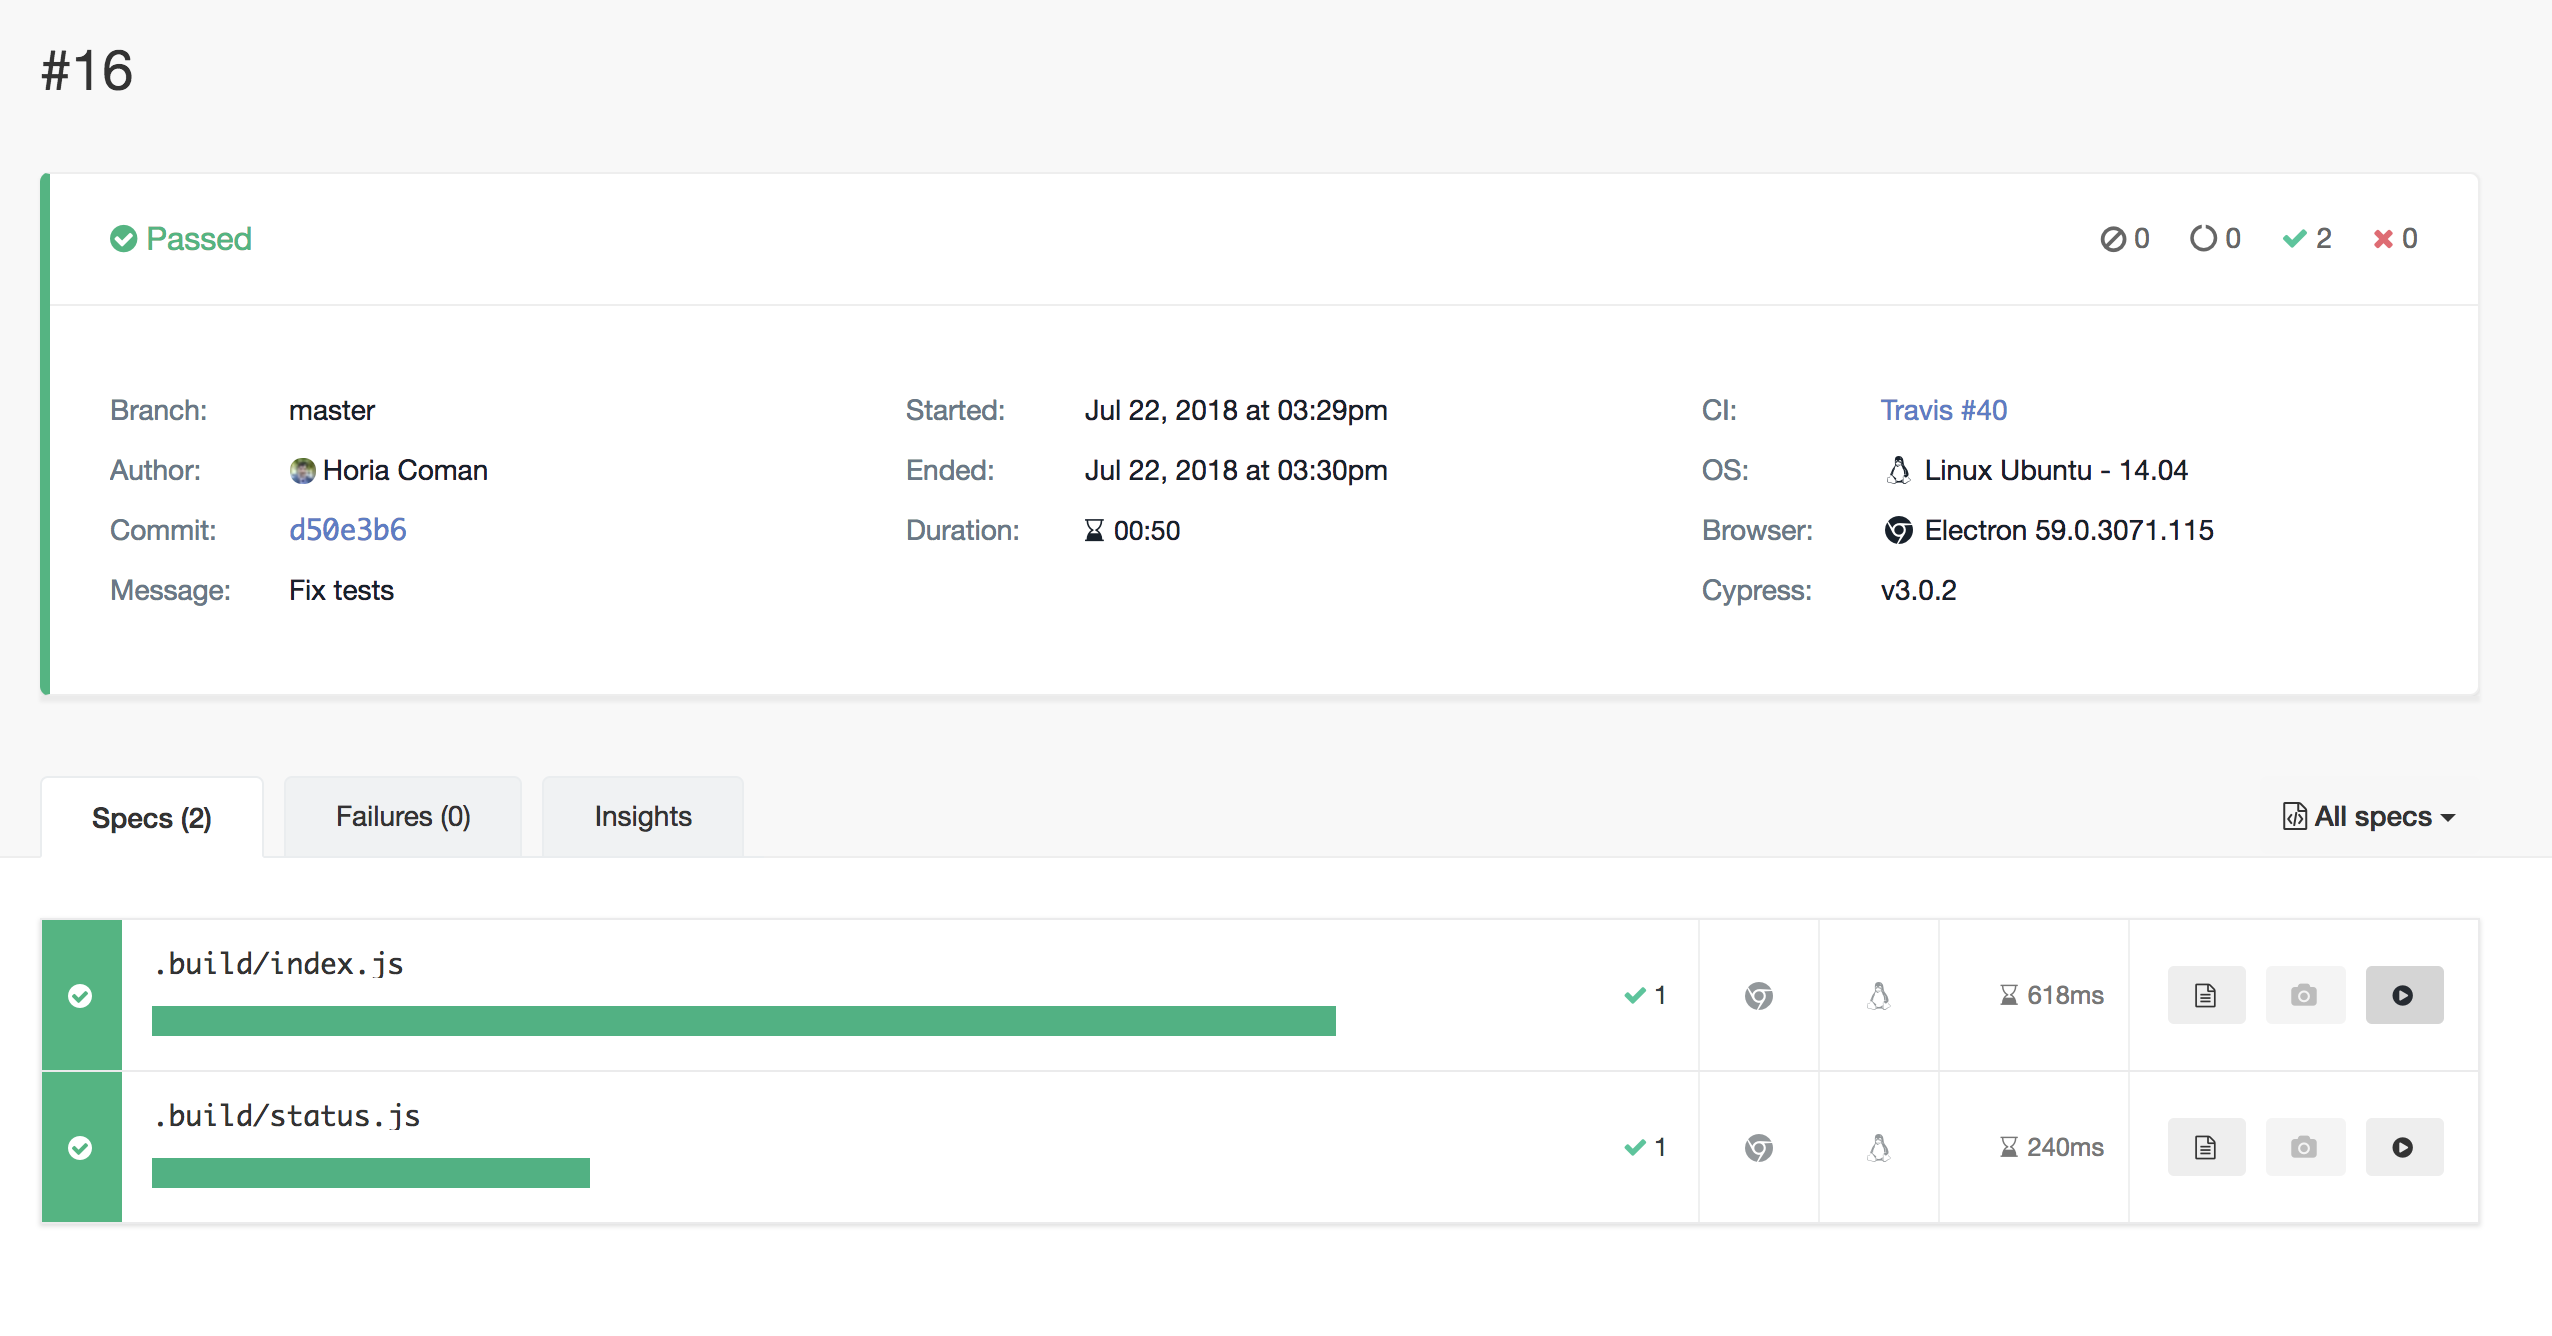
Runs on Travis also send a capture of the test to Cypress, and you can view them here. A screenshot below:
Finally, a very useful tool for larger scale manual testing is ngrok. Use yarn ngrok to launch the service and follow its instructions to temporarily publish the application online.
That’s it for this part. As promised, we dug more into the meat of the issue, though there’s still a lot of ground to cover. We’ll see about setting up sessions support, common middleware and Auth0+GitHub integrations in the next part.
Checkout all the articles in the series here.